Plamia
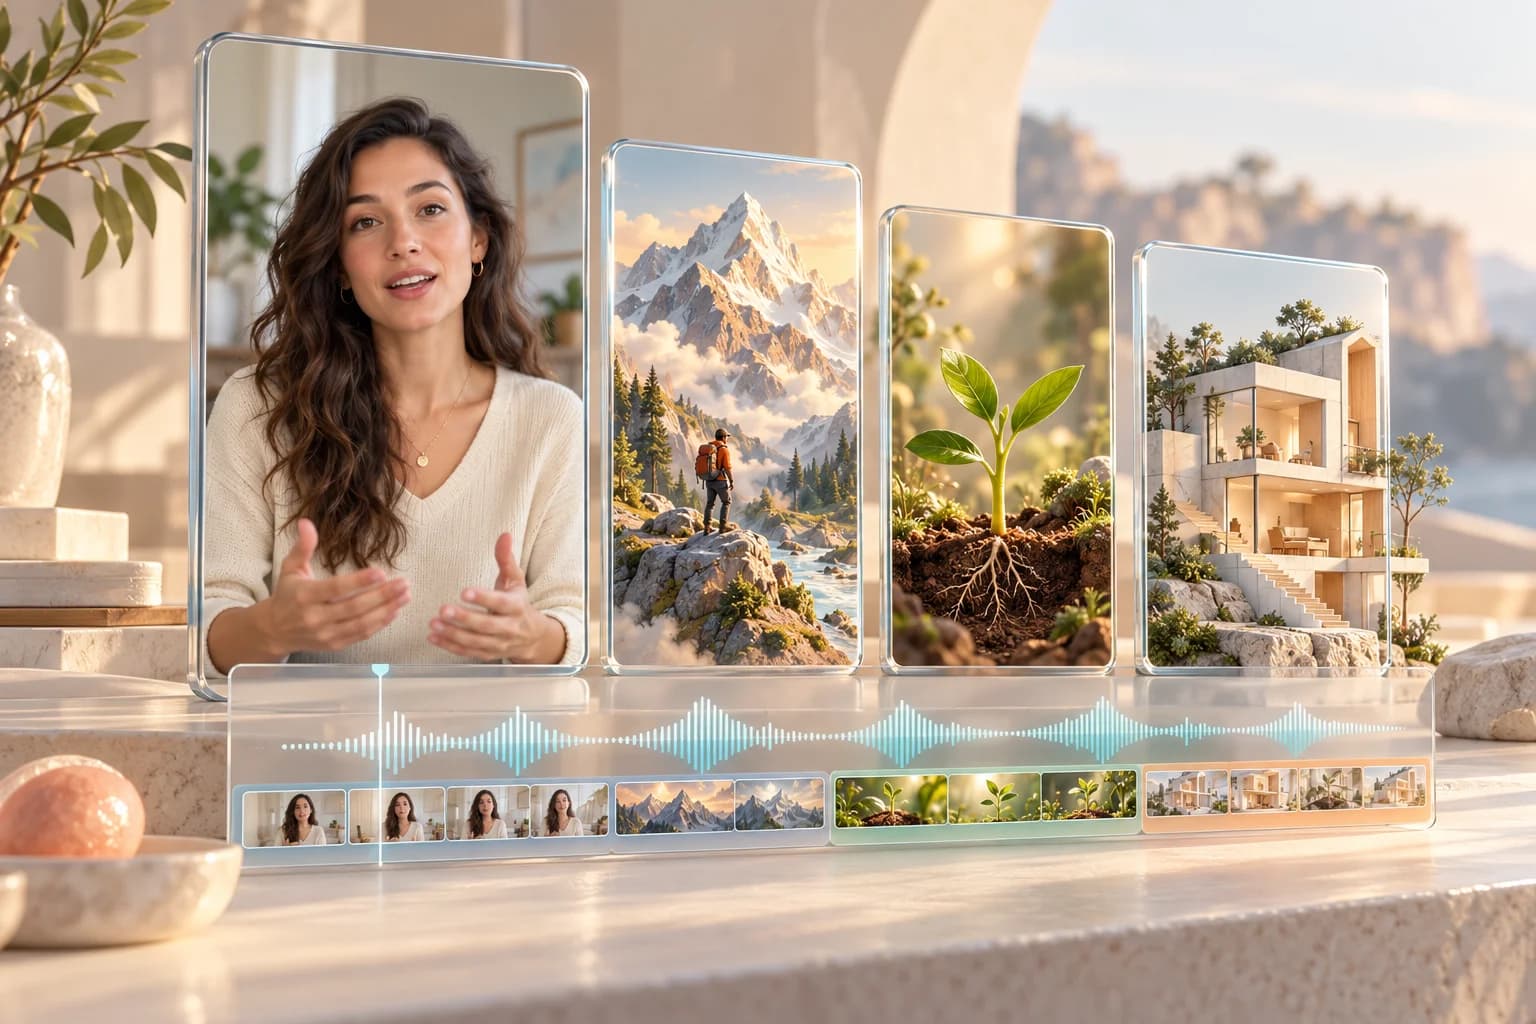
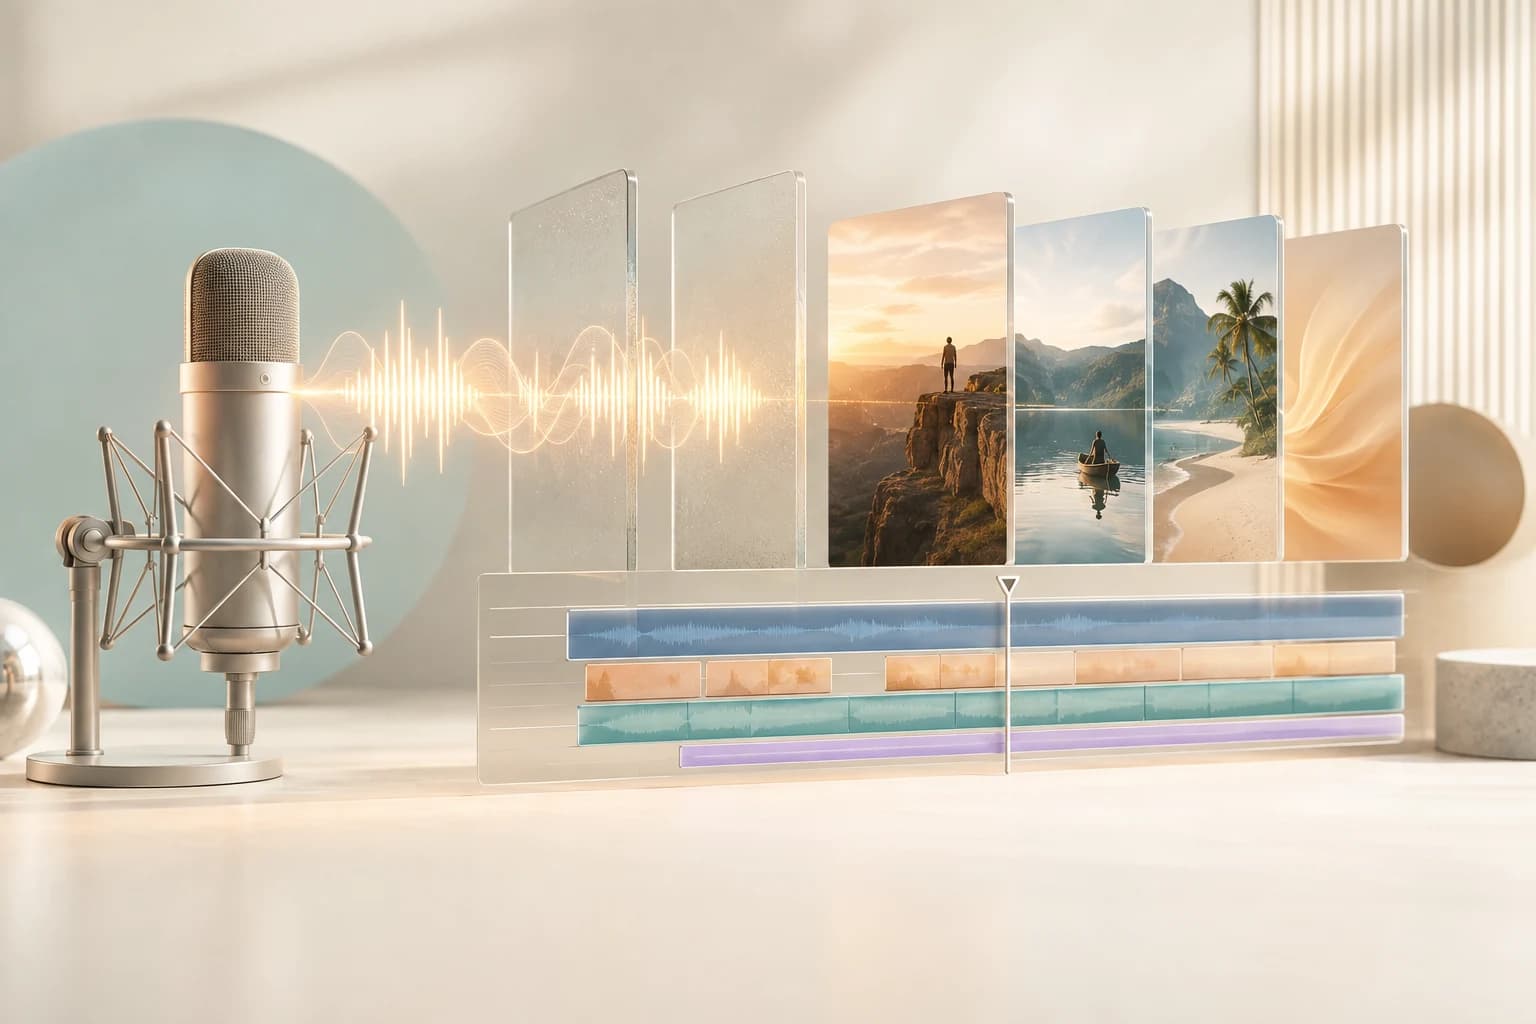
You have recorded an explanation, a story, or a piece of advice. The delivery feels right, but some moments would be clearer with a visual. AI video animation in Plamia turns the words in your recording into animated inserts while keeping your original voice.
Upload a vertical 9:16 video and choose any existing Plamia template. Plamia analyzes your speech, generates supporting visuals, and arranges animation clips around what you say. The result opens in the editor, ready for you to review and refine.
In brief
- Start with a recorded video and keep the voice and delivery already in it.
- Create animated inserts based on the meaning of your speech.
- Use any existing Plamia template, then edit the scenes, captions, and timing.
- Export your finished vertical video in 720p, 1080p, or 4K.
Animation that follows what you say.
An animated insert can show an idea at the moment you explain it. A story about persistence might move from your recording to a mountain climb. A lesson about growth might show a seed taking root. The visual gives the viewer something concrete to connect with the spoken point.
Plamia uses the speech in your uploaded video to guide those scenes. Your recording provides the story and the original voice; the generated animation supplies the supporting visuals. You do not need to rerecord the narration or replace your delivery with an AI voice.
This is a way to add animated scenes to a recording, rather than apply one filter across the entire video. That gives you room to move between the person speaking and the ideas they are describing.
Your favorite templates work here, too.
Every existing Plamia template is available for this workflow. Choose the visual direction you want for the animated inserts, whether the video belongs to an established series or is the first post on a new topic.
Keeping the same template across a series helps its generated scenes feel related. You can focus on the next explanation or story while carrying a familiar visual style from one video to the next. The choice is a starting point: you can still adjust the generated result in the editor.
Made for videos with something to say.
AI video animation works especially well when speech carries the idea and a supporting scene can make it easier to picture. Here are several ways to use it:
- Explainer videos: illustrate a concept, a comparison, or a process as you describe it.
- Motivational videos: connect a personal lesson with visual moments of effort, progress, and change.
- Personal stories: introduce the setting and key moments while keeping your own storytelling voice.
- Educational videos: give a short lesson visual examples that make an abstract point easier to follow.
- Tutorials: add context around a demonstration while retaining the original footage for steps viewers need to see accurately.
- Product explainers: illustrate the problem a product solves, using your real product footage for specific features and details.
- Video podcast clips: give a selected conversation excerpt supporting visuals without replacing the speakers’ delivery.
- Commentary videos: bring visual context to your analysis while leaving the explanation in your own voice.
Choose visuals that clarify the point. For factual explanations and demonstrations, review the generated scenes carefully and use your own reference images or footage where an exact detail matters.
From recording to an editable video.
- Record a vertical 9:16 video. Use clear speech and choose a passage with a complete thought, so the animation has a coherent story to follow.
- Upload the video and choose any Plamia template. Select the look you want for the supporting scenes.
- Create the video. Plamia uses your speech to generate and arrange animated inserts while preserving the original voice.
- Review the result in the editor. Check the meaning of each scene, correct captions where needed, and adjust timing before exporting.
If you are starting from a longer recording, select a short excerpt before uploading it. An explanation with a clear opening, one useful idea, and a natural ending is easier to turn into a focused short than a passage that depends on the rest of the conversation.
Keep the final say over the edit.
The generated result stays editable. Move or trim clips, refine captions, and replace a visual when it does not communicate what you meant. Watch the complete sequence with sound: the scene should support the spoken idea at the moment it appears.
When the edit is ready, export a vertical 9:16 MP4 in 720p, 1080p, or 4K. You can then publish it on TikTok, Instagram Reels, or YouTube Shorts. The recording remains yours, with animation that helps the audience follow your story.
Continue with the production workflow
Continue with the recorded-video animation guide or review the current editor controls and supported formats in Plamia Help.